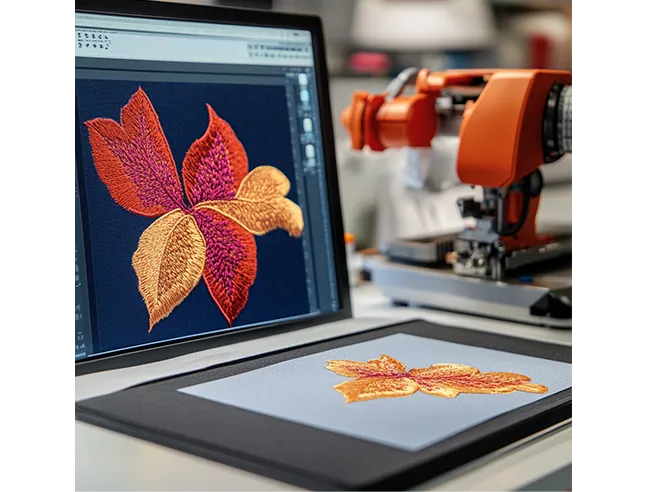
DIY Logo Digitizing for Embroidery: Tools & Techniques

Introduction
Picture this: You've designed the perfect logo for your business or club, but when you try to digitize logo for cap embroidery, the details disappear, the edges look jagged, and the text becomes unreadable. This frustrating scenario happens to countless beginners trying to digitize logos without the right knowledge - especially when preparing designs for curved cap surfaces.
The good news? You don't need to pay expensive digitizing fees to get professional-looking embroidered logos. With the right tools and techniques, you can learn to digitize logo for cap embroidery yourself. This comprehensive guide will walk you through everything from choosing cap-specific software settings to mastering stitch types that make your logos pop on any structured cap fabric.
Why Logo Digitizing Requires Special Attention
The Unique Challenges of Logos
-
Must maintain brand integrity
-
Often contain small text
-
Need crisp, clean edges
-
Require consistent reproduction
Common DIY Logo Digitizing Mistakes
-
Using auto-digitize without manual adjustments
-
Ignoring fabric-specific requirements
-
Poor stitch type selection
-
Inconsistent density settings
Essential Tools for DIY Logo Digitizing
Software Options for Every Budget
Free/Low-Cost Options:
-
Ink/Stitch (Free Inkscape extension)
-
SewArt ($50, good for simple logos)
-
Embrilliance Essentials ($129)
Professional Software:
-
Hatch Embroidery ($999)
-
Wilcom EmbroideryStudio ($2,000+)
-
Brother PE-Design
Hardware You'll Need
-
Computer that meets software requirements
-
Embroidery machine
-
Quality thread and needles
-
Various stabilizers
Step-by-Step Logo Digitizing Process
1. Preparing Your Logo File
-
Start with vector files (AI, EPS, SVG) when possible
-
Convert raster images to high resolution (300+ DPI)
-
Simplify complex elements
-
Separate color layers
2. Setting Up Your Workspace
-
Choose appropriate hoop size
-
Set correct design dimensions
-
Establish center point
3. Digitizing Different Logo Elements
Text:
-
Use satin stitches (2-5mm width)
-
Minimum height: 6mm for readability
-
Add slight pull compensation
Outlines/Borders:
-
Satin stitches work best
-
Maintain consistent width
-
Use underlay for stability
Solid Areas:
-
Fill stitches with proper density (0.4-0.6mm)
-
Add appropriate underlay
-
Consider stitch direction
4. Testing and Refining
-
Stitch out on scrap fabric
-
Check for thread breaks, puckering
-
Adjust density and underlay as needed
Advanced Logo Digitizing Techniques
Small Text Solutions
-
Use thicker fonts when possible
-
Increase stitch width slightly
-
Consider substituting with satin borders
Complex Logo Elements
-
Break into separate components
-
Digitize each element individually
-
Pay attention to layering order
Color Blending Techniques
-
Use variegated threads
-
Layer different stitch directions
-
Experiment with stitch density
Fabric-Specific Considerations
Common Logo Fabrics & Settings
Polo Shirts (Knit):
-
Lighter density (0.5mm)
-
Additional stabilizer
-
More pull compensation
Caps (Structured):
-
Denser stitching (0.4mm)
-
Consider 3D foam for raised logos
-
Watch for distortion on curves
Jackets (Heavy):
-
May need higher tension
-
Use sharper needles
-
Consider thicker threads
Troubleshooting Common Logo Issues
Problem: Text Isn't Readable
Solutions:
-
Increase font size
-
Use simpler font style
-
Adjust stitch width
Problem: Edges Look Ragged
Solutions:
-
Improve underlay
-
Adjust pull compensation
-
Use satin stitches instead of fill
Problem: Logo Loses Shape
Solutions:
-
Check original proportions
-
Use proper stabilizer
-
Modify stitch direction
Maintaining Consistency Across Items
Creating Templates
-
Save preset files for different logo versions
-
Document successful settings
-
Build a color library
Quality Control Tips
-
Always use same thread brand
-
Standardize your digitizing process
-
Keep detailed records
When to Consider Professional Help
While DIY logo digitizing is rewarding, consider pros for:
-
Extremely complex logos
-
High-volume production
-
Specialty techniques (3D puff, metallic)
-
When brand perfection is critical
The Future of Logo Digitizing
Emerging Technologies
-
AI-assisted digitizing
-
Cloud-based collaboration tools
-
Automated quality checking
-
Augmented reality previews
Conclusion
DIY logo digitizing is a valuable skill that saves money and gives you creative control when you learn to digitize logo for embroidery. While there's a learning curve, the ability to perfect your own embroidered logos is worth the effort.
Start with simple designs as you begin to digitize logo for embroidery, practice consistently, and don't get discouraged by imperfect first attempts. Every professional digitizer started where you are now in their journey to digitize logo for embroidery.
Final Tip: Create a 'logo digitizing journal' to track what works. Note software settings, stitch adjustments, and fabric combinations that give you the best results when you digitize logo for embroidery. Over time, you'll develop your own system for perfect logo embroidery.
Now grab your logo file and start digitizing - your brand's perfect embroidered representation awaits!
- Art
- Causes
- Crafts
- Dance
- Drinks
- Film
- Fitness
- Food
- เกมส์
- Gardening
- Health
- บ้าน
- Literature
- Music
- Networking
- อื่นๆ
- Party
- Religion
- Shopping
- Sports
- Theater
- Wellness

